Smartphones are powerful tools that have democratized content creation. Recording and editing videos on your phone has become incredibly accessible, making it easy for anyone to create professional-quality videos for social media, YouTube, or personal use. Whether you’re a beginner or someone with a bit of experience, this guide will take you through the process of recording and editing videos on your phone, step-by-step.
1. Preparing Your Phone for Video Recording
Before you start recording, it’s important to prepare your phone for a smooth video creation process. Here are the key steps:
a. Check Storage Space
Recording videos, especially in high resolution, can take up a lot of space. Ensure you have enough storage on your phone to avoid interruptions during the recording process. You can free up space by deleting old files or transferring them to the cloud or an external device.
b. Clear Your Lens
The camera lens on your phone can collect fingerprints and dust. Make sure to clean it with a microfiber cloth for a clear and sharp video quality.
c. Set Your Phone’s Orientation
Decide whether you want to shoot in landscape (horizontal) or portrait (vertical) mode. For most professional-looking videos, landscape mode is ideal, but portrait mode works better for social media platforms like TikTok and Instagram Stories.
d. Check Battery Life
Ensure your phone is fully charged or plugged into a charger to avoid losing power during filming.
2. Recording Videos on Your Phone
Once your phone is set up, it’s time to start recording. Follow these tips for achieving the best video quality:
a. Use the Rear Camera
The rear camera on most smartphones has better quality than the front (selfie) camera. If possible, use the rear camera for your video recording.
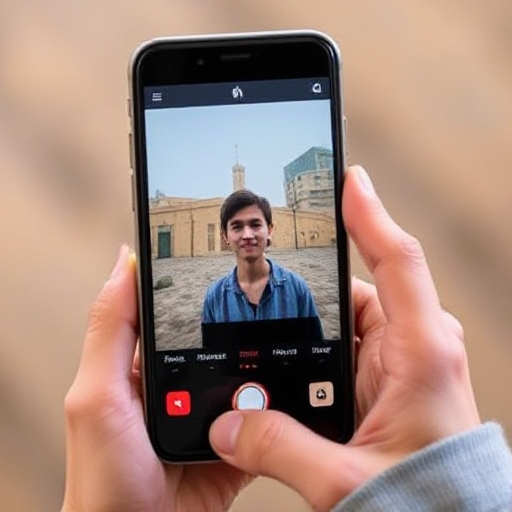
b. Stabilize Your Phone
Shaky footage can be distracting and unprofessional. Use a tripod, phone stand, or even your hands to stabilize your phone. If you don’t have a tripod, try holding your phone with both hands and keeping your elbows tucked in to minimize movement.
c. Control Lighting
Good lighting is key to great video quality. Natural light is the best option, so try shooting near a window or outdoors. If you’re shooting indoors, consider investing in affordable LED lights or a ring light to brighten up your scene.
d. Adjust Camera Settings
Many modern smartphones allow you to adjust camera settings like exposure, focus, and white balance. Experiment with these settings to get the desired look. Some phones even have built-in features like portrait mode for background blur, slow-motion, or time-lapse effects, which can enhance your videos.
e. Record Audio Separately (Optional)
While most phones have decent built-in microphones, external mics can dramatically improve your audio quality. If you plan to record dialogue or voiceovers, consider using an external microphone that plugs into your phone’s headphone jack or lightning port.
3. Editing Videos on Your Phone
After recording, it’s time to refine your video using editing software. Editing can make a huge difference in the final product by enhancing your footage, trimming unwanted parts, and adding effects. There are numerous apps available for video editing, ranging from simple tools to more advanced options. Here’s how to edit your video on your phone:
a. Choose an Editing App
There are many apps available for video editing. Some popular options include:
- iMovie (iOS): A user-friendly app with all the essential tools for trimming, adding transitions, and inserting music.
- Adobe Premiere Rush (iOS/Android): A more advanced app that offers multi-track editing, color correction, and motion graphics.
- Kinemaster (iOS/Android): Offers a lot of creative freedom with multi-layer editing, transitions, and special effects.
- CapCut (iOS/Android): Great for beginners, with a variety of filters, effects, and editing tools for social media content.
b. Trim and Cut Clips
Start by trimming your video to remove any unwanted parts. Use the app’s timeline to zoom in on your clips and cut them to the desired length. Removing dead space, mistakes, or long pauses will help make your video more engaging.
c. Add Transitions
Transitions are smooth visual effects that occur between clips. They can make your video feel more polished and seamless. Use simple transitions like fades or slides, or get creative with more complex ones depending on your style and the tone of your video.
d. Add Text and Titles
Text can be useful for adding context, captions, or titles. Most video editing apps allow you to add text over your clips. You can customize the font, size, color, and placement to match your video’s style.
e. Apply Filters and Effects
Filters can give your video a consistent look and feel. Whether you want to make your video warmer, cooler, or give it a vintage aesthetic, applying filters can enhance your video’s mood. Additionally, you can add effects like slow-motion, time-lapse, or animated stickers for more flair.
f. Include Music and Sound Effects
Background music is a great way to set the tone for your video. Many editing apps come with built-in royalty-free music, or you can import your own. Be mindful of copyright laws if you’re using music from external sources. Adding sound effects like applause, footsteps, or ambient noise can make your video more immersive.
g. Adjust Audio Levels
Good audio is just as important as good video. Make sure the volume of your background music doesn’t overpower the dialogue or narration. Most apps allow you to adjust audio levels for different tracks separately.
h. Export Your Video
Once you’re happy with your edits, it’s time to export the final product. Most video editing apps offer options to export videos in various resolutions (e.g., 720p, 1080p, 4K). Choose the resolution that fits your intended platform. For social media, 1080p is usually sufficient.
4. Tips for Optimizing Your Video for Different Platforms
Different social media platforms have their own specifications and preferences for video content. Here are some tips for optimizing your video based on the platform you intend to use:
- YouTube: YouTube videos typically look best in 16:9 (landscape) aspect ratio. Aim for HD resolution (1080p) and ensure your video file is under 2GB.
- Instagram: For Instagram posts, square (1:1) and vertical (4:5 or 9:16) videos work well. Stories and Reels are best recorded vertically.
- TikTok: TikTok videos are vertical (9:16), so ensure you shoot in portrait mode. Keep your video short (under 60 seconds) and use effects or trends that resonate with the platform’s audience.
- Facebook: Similar to Instagram, Facebook supports both horizontal and vertical videos. However, horizontal (16:9) is more commonly used for feed posts.
5. Additional Tools and Resources
If you’re serious about video editing and want to enhance your skills, consider investing in additional tools like:
- External microphones for better sound quality.
- Gimbals or stabilizers to get smoother, more professional footage.
- Lens attachments for your phone camera to achieve effects like wide-angle shots, macro close-ups, or fisheye perspectives.
- Royalty-free music libraries like Epidemic Sound or Artlist for high-quality tracks.
Recording and editing videos on your phone has never been easier. With the right preparation, techniques, and apps, you can create high-quality videos that look professional and stand out. Whether you’re making content for personal use, social media, or your YouTube channel, your phone is a versatile tool that can help bring your creative vision to life. Start recording, experiment with different edits, and have fun with the process!