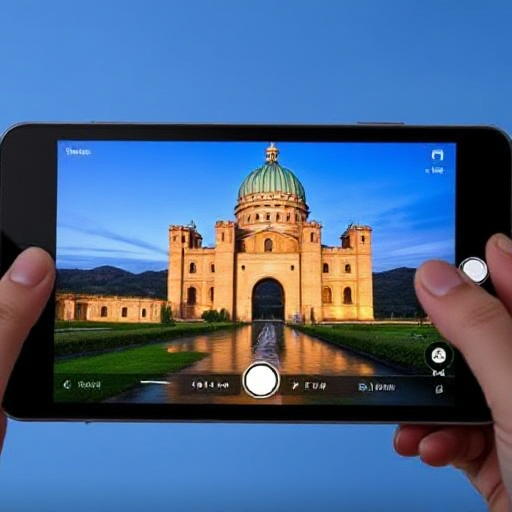
Screenshots have become an essential tool for capturing information, sharing content, and troubleshooting. Whether you’re a professional, student, gamer, or casual user, knowing how to take high-quality, well-composed screenshots can enhance your digital experience. This article explores how to take perfect screenshots on various devices—smartphones, tablets, and computers—and provides tips for making sure your screenshots are both functional and aesthetically pleasing.
1. Understanding the Basics of Screenshots
A screenshot is an image capture of the current screen on a device. It’s commonly used for:
- Documentation: Taking a snapshot of a specific moment for reports or guides.
- Sharing Information: Quickly capturing and sharing content without needing to type it out.
- Troubleshooting: Helping others understand issues by showing what’s happening on your screen.
- Creative Projects: Artists, designers, and content creators often use screenshots to gather references or showcase their work.
To take a screenshot, most devices offer built-in shortcuts or options, and with the right knowledge, you can ensure your screenshots look their best every time.
2. How to Take Screenshots on Different Devices
On Windows (PC & Laptop)
Windows offers several ways to capture screenshots, each suited to different needs:
- Full-Screen Screenshot:
- Press PrtScn (Print Screen). This copies the entire screen to the clipboard, and you can paste it into an image editor or document by pressing Ctrl + V.
- Specific Window Screenshot:
- Press Alt + PrtScn. This captures the currently active window and copies it to the clipboard.
- Custom Area Screenshot:
- Press Windows + Shift + S to open the Snipping Tool. This allows you to click and drag to select a custom area for capture.
- Full-Screen Screenshot (Direct Save):
- Press Windows + PrtScn. This captures the entire screen and saves it as an image in your “Pictures” folder.
- Snipping Tool & Snip & Sketch:
- For more advanced options, you can use Windows’ built-in Snipping Tool or Snip & Sketch to capture specific areas, annotate, and save screenshots directly.
On macOS
macOS offers intuitive shortcut keys to make taking screenshots easy:
- Full-Screen Screenshot:
- Press Command + Shift + 3. This captures the entire screen and saves the file to your desktop.
- Custom Area Screenshot:
- Press Command + Shift + 4. This allows you to select the area you want to capture. After pressing the keys, you can click and drag the crosshair to define the area.
- Window Screenshot:
- Press Command + Shift + 4, then tap the Spacebar. This will turn the cursor into a camera icon, and you can click any open window to capture it.
- Touch Bar Screenshot:
- If your Mac has a Touch Bar, press Command + Shift + 6 to capture what’s displayed on the Touch Bar.
On iPhone & iPad (iOS)
Apple devices make it easy to take screenshots, and there are different methods depending on the model:
- For iPhones with Face ID:
- Press and release the Side Button and the Volume Up Button simultaneously.
- The screenshot will appear in the lower-left corner of the screen for quick access.
- For iPhones with Touch ID and Side Button:
- Press and release the Home Button and the Side Button simultaneously.
- For iPhones with Touch ID and Top Button:
- Press and release the Home Button and the Top Button simultaneously.
On Android Devices
On Android, the process varies slightly by manufacturer, but the general method is the same:
- Basic Screenshot:
- Press and hold the Power Button and Volume Down Button simultaneously. This will capture the screen and save it to your gallery.
- Scrolling Screenshot:
- Some Android devices, such as Samsung, offer a scrolling screenshot feature. After capturing the screenshot, look for an option like “Capture More” to extend the screenshot and capture a scrolling page.
- Assistive Options:
- If you have accessibility features enabled, you can take screenshots using gestures, voice commands, or specialized buttons on the screen.
On Linux
Linux users can take screenshots using a variety of tools:
- Full-Screen Screenshot:
- Press PrtScn to capture the entire screen. It will be saved to the clipboard or a default folder, depending on your system settings.
- Specific Window Screenshot:
- Press Alt + PrtScn to capture the active window.
- Custom Area Screenshot:
- Use the Shift + PrtScn or use applications like Flameshot for more customization options.
3. Tips for Perfect Screenshots
Taking perfect screenshots goes beyond just knowing the key combinations. Here are some tips to enhance your screenshots:
1. Clean Up Your Screen
Before capturing, ensure that your screen is free from distractions:
- Close unnecessary tabs, apps, or windows.
- Disable notifications to avoid pop-ups.
- Organize your desktop icons or app layout for a neat capture.
2. Consider Composition
Good composition can make your screenshots more visually appealing:
- Center Key Elements: Place important items, text, or images in the center of the screen.
- Use the Rule of Thirds: Divide the screen into thirds (both horizontally and vertically) and position key elements along these lines.
- Leave Space for Annotations: If you’re going to add text or other elements, leave room around the screenshot’s focal points.
3. Avoid Too Much Clutter
If you’re capturing a website, software, or digital document, make sure the relevant information is clearly visible:
- Highlight only the necessary parts of the content.
- Avoid cluttered interfaces or excessive background distractions.
4. Use Annotations and Edits
After capturing a screenshot, use editing tools to add annotations, shapes, arrows, or highlights to clarify the message:
- Mac and Windows have built-in tools (like Preview and Snipping Tool) to add text or shapes.
- Third-party apps like Snagit and Lightshot offer advanced features, including capturing web pages, adding annotations, and editing.
5. Optimize for Quality
Ensure your screenshot maintains high resolution and clarity:
- For website captures, avoid low-res images and try to capture high-definition content.
- For gaming screenshots, select the highest resolution and graphics settings to avoid blurry or pixelated images.
4. Advanced Screenshot Tools and Apps
Sometimes, built-in tools are not enough for specific needs. Here are some advanced tools for capturing high-quality, detailed screenshots:
- Snagit (Windows/Mac): Snagit offers advanced editing, annotations, and even video capture, making it ideal for professionals.
- Lightshot (Windows/Mac): A lightweight tool that lets you capture screenshots quickly, edit them, and upload them to the cloud.
- Greenshot (Windows): An open-source tool that offers advanced features like capturing full webpages and scrolling areas.
- Flameshot (Linux): A robust tool for Linux users that allows you to capture, annotate, and save screenshots with great ease.
- Skitch (Mac/iOS): A simple tool for annotating and editing screenshots, great for quick markups.
Whether you’re taking a screenshot for work, education, or leisure, mastering this simple yet powerful tool can save you time and help you communicate more effectively. With the right techniques and tools, you can capture clear, informative, and visually appealing screenshots on any device. Follow these tips, experiment with editing options, and tailor your screenshots to suit your needs—whether you’re documenting a process, sharing something online, or troubleshooting an issue.
By understanding the ins and outs of capturing the perfect screenshot, you’ll be able to share and store important information with ease, contributing to a more organized and efficient digital experience.


