In today’s digital era, smartphones have become powerful tools for capturing and editing photos. With advanced camera capabilities and user-friendly editing apps, you can create professional-quality images right from your device. This guide outlines simple steps to edit photos on your phone, ensuring your pictures stand out.
Step 1: Choose the Right Editing App
The first step in editing photos is selecting a suitable app. Many free and paid options cater to different skill levels. Here are some popular choices:
- Snapseed: A free, professional-grade app with a wide range of editing tools.
- Adobe Lightroom Mobile: Ideal for precise adjustments and color grading.
- VSCO: Offers stylish filters and basic editing tools.
- PicsArt: Great for creative edits and adding effects.
- Canva: Perfect for designing with text and overlays.
Download one or more apps from your app store and experiment to find the one that best suits your needs.
Step 2: Adjust Basic Settings
Start by opening your chosen photo in the app. Most apps provide basic adjustment tools to refine your image:
- Brightness and Contrast: Adjust these settings to balance the light and dark areas, making the image more dynamic.
- Saturation and Vibrance: Enhance or tone down colors to achieve a natural or artistic look.
- Exposure: Correct overexposed or underexposed photos.
- Sharpness: Enhance details for a crisper appearance.
These basic adjustments lay the foundation for further edits.
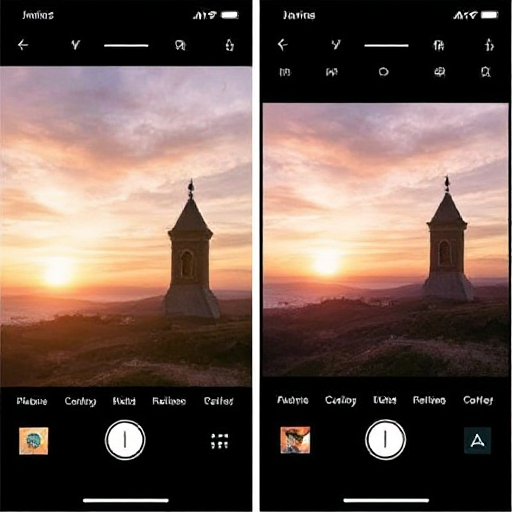
Step 3: Crop and Straighten
Cropping helps improve composition by removing unnecessary elements and focusing on the subject. Most apps include a cropping tool with preset aspect ratios (e.g., square for Instagram or 16:9 for widescreen). Use the straightening tool to align the horizon or vertical lines for a balanced look.
Step 4: Apply Filters or Presets
Filters and presets are quick ways to give your photo a specific mood or style. Apps like VSCO and Lightroom Mobile offer numerous options:
- Choose a filter that complements the photo’s theme.
- Adjust the filter’s intensity to avoid over-editing.
Presets are customizable settings that can be applied to multiple photos for consistency, especially useful for social media branding.
Step 5: Remove Blemishes and Unwanted Elements
If your photo has distracting objects or imperfections, use the healing or cloning tools available in apps like Snapseed and Photoshop Express. These tools allow you to:
- Remove spots, stains, or blemishes from portraits.
- Eliminate distracting background objects.
Zoom in for precision when using these tools.
Step 6: Fine-Tune Details
To make your photo truly shine, fine-tune additional elements:
- Color Temperature: Adjust the warmth or coolness of the image.
- Highlights and Shadows: Bring out details in bright and dark areas.
- Clarity: Enhance textures without over-sharpening.
These subtle changes add depth and character to your image.
Step 7: Save and Export
After editing, save your photo in high resolution to preserve quality. Most apps allow you to:
- Save directly to your phone’s gallery.
- Export in different formats (e.g., JPEG, PNG).
- Share directly to social media platforms.
Double-check your edits before exporting to ensure everything looks polished.
Additional Tips for Better Editing
- Practice Makes Perfect: The more you edit, the better you’ll understand the tools and techniques.
- Use Layers: Apps like Photoshop Express let you edit in layers, making it easier to undo specific changes.
- Follow Trends: Keep an eye on social media trends for inspiration.
- Maintain Naturalness: Avoid over-editing; subtle changes often have the greatest impact.
Editing photos on your phone is an enjoyable and creative process. By following these steps and experimenting with different techniques, you can transform your pictures into stunning visuals, ready to share with the world.